
In this course, you’ll learn the working principle and troubleshooting process of the below circuits
•Boot Circuit
•Display Circuit
•Backlight Circuit
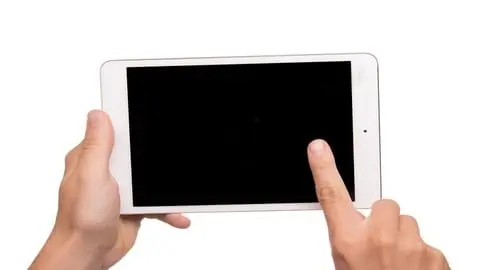
•Touch Circuit
•Front Camera Circuit
•Rear Camera Circuit
•LED Flash Circuit
•Wi-Fi Circuit
•Bluetooth Circuit
•USB Circuit
•Charging Circuit
•Microphone Circuit
•Speaker Circuit
•Vibrator Circuit
•NFC Circuit
•SIM Circuit
•Baseband Circuit
The learning process
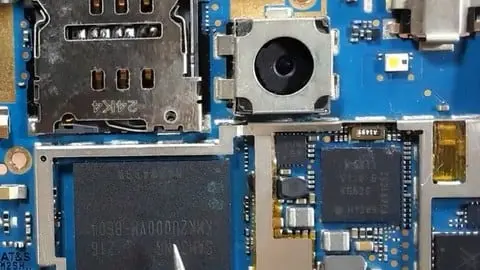
•First, for the chip level repair, we need to know the distribution of the components on the motherboard. It’s just like a doctor should get familiar with the structure of the human body first, then the doctor can treat the disease.
•Then we’ll learn the function of each chip and how the relevant circuit works. For example, for the display circuit, we should know the screen is connect with the motherboard via the display connector. Then after checking the schematic, find out the display connector and track each pin-related rail, we’ll have an overview of the related chips, so it will be easy to know where is the power comes from and how the signals are transmitted.
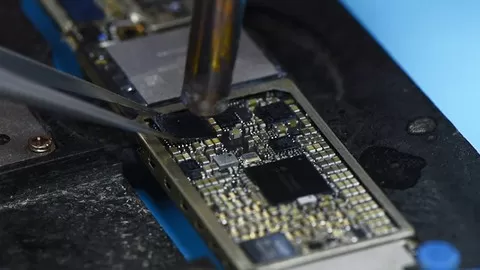
•After we know the working principle, then it would be easy to do the troubleshooting. Just follow the principles of “from the outside to inside”, “from the accessories to the chip”, “check cosmetic first, then measure diode value, check voltage…”
•Last but not the least, after finding out the faulty component, remove or replace the faulty component with a new one.
The learning purpose
The course is based on the schematic of the iPhone 7.
During the learning process, you’ll need to follow the course and check the bitmap and schematic for hundred times.
When completing the whole course, you’ll get familiar with the bitmap, schematic, and block diagram… which would be very helpful to form the repair logic and the ability to research and self-learning. So that in the future, you will be able to repair even the newly released models.